Carvik is the first art time lapse I’ve published of my process for making fantasy maps. Along with the video I’ve also written a step by step guide showing how to use Vancano’s map generator, so you can follow along.
Here’s what you can find in this article:
- Watch the chillout art time lapse video
- Tools needed to create the Carvik map
- How I created the Carvik fantasy map
- Canvas set up
- Run Vancano’s Map Generator
- Using icons from Map Effects Map Builder to add features to the map
- Cities, towns, forts and trade routes.
Watch the chillout art time lapse video
Over lockdown I’ve found myself watching videos of people creating art. From wood turning to digital art and maps, I’ve watched a lot. So I wanted to pay that forward by creating a video of my own and sharing it for other people who might need some art to chillout to.
It also provides an opportunity to improve and develop my skills, both as an artist and also someone interested in making videos.
I hope you’ve enjoyed it.
Don’t forget you can subscribe to the Worldbuilding School on YouTube.
Tools needed to create the Carvik map
If you want to follow along then you’ll need 3 tools.
Photoshop is the tool I use to draw my fantasy maps. Vancano’s Map Generator is a plugin for Photoshop that we’ll use to generate the shape of the land for this map. Map Effects’ Map Builder is a collection of map icons, brushes and other resources that I’ll use to add features to the map.
Visit the Photoshop map guide for more tutorials using Photoshop.
How I used Vancano’s Map Generator to make the Carvik fantasy map
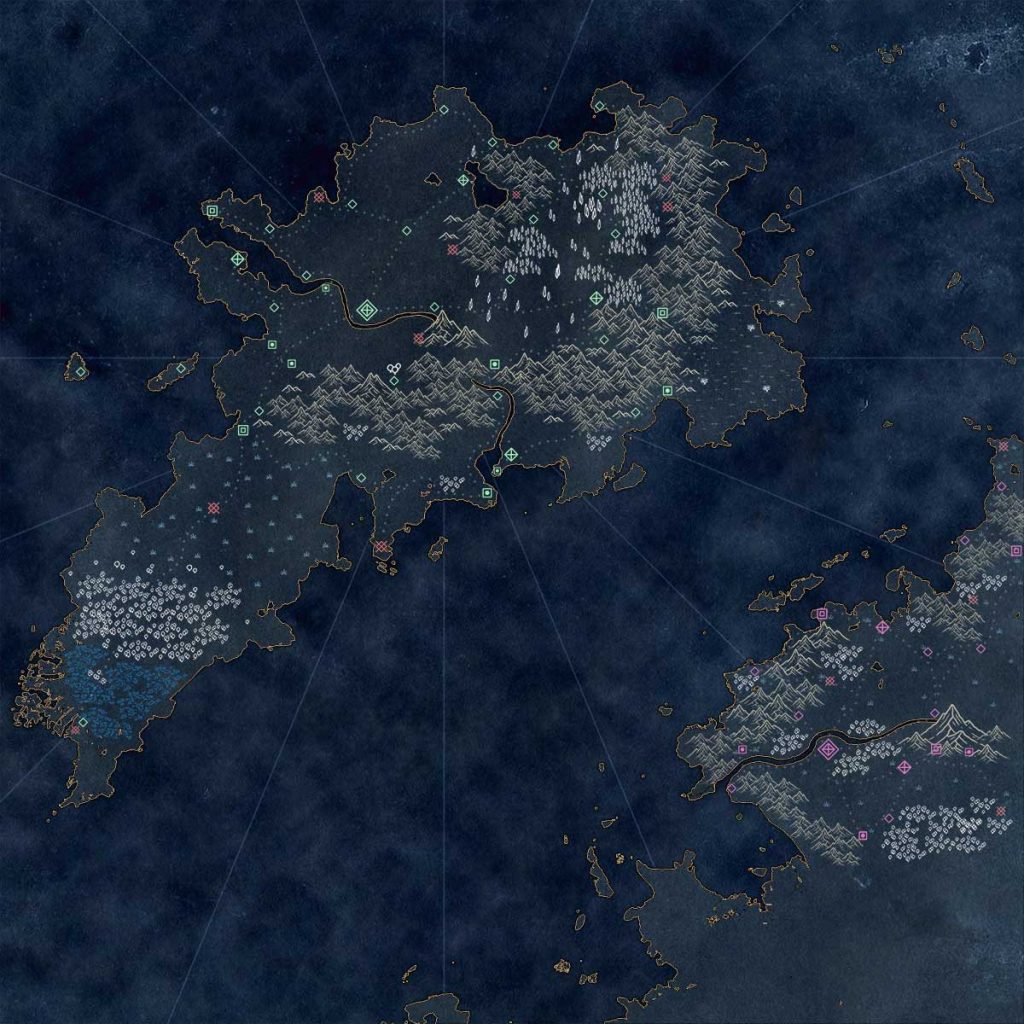
Here’s a walkthrough of how I made the Carvik fantasy map. It takes you step by step through the process, but I don’t explain everything. So if something doesn’t make sense you can read through my Photoshop map tutorial which explains my map process in more detail.
However, Vancano’s map generator will guide you through the process of creating the land. As long as you know how to paint in either a white or black brush in Photoshop then you’ll be perfectly fine.
After that, all you need to know is how to change your brush in Photoshop and change the colour. If you can do that then you can use the icons from the Map Builder.
So making a map similar to Carvik is very simple.
Canvas setup
This is the first step.
Open Photoshop and choose your canvas size. For Carvik I’m working at around A2, the exact settings are
- 7016×4961 pixels
- 300dpi
And the colour mode is RGB.
If you’re working on an older machine, or you don’t have a graphics card then I recommend you to reduce the canvas size. For comparison, my computer specs for this map are:
- Intel i5
- GeForce GT 1030
- 32GB RAM (DDR3)
Run Vancano’s Map Generator
From the Photoshop Actions menu, run “Generate Terrain: Part 1”. This will help you draw the land for your map.
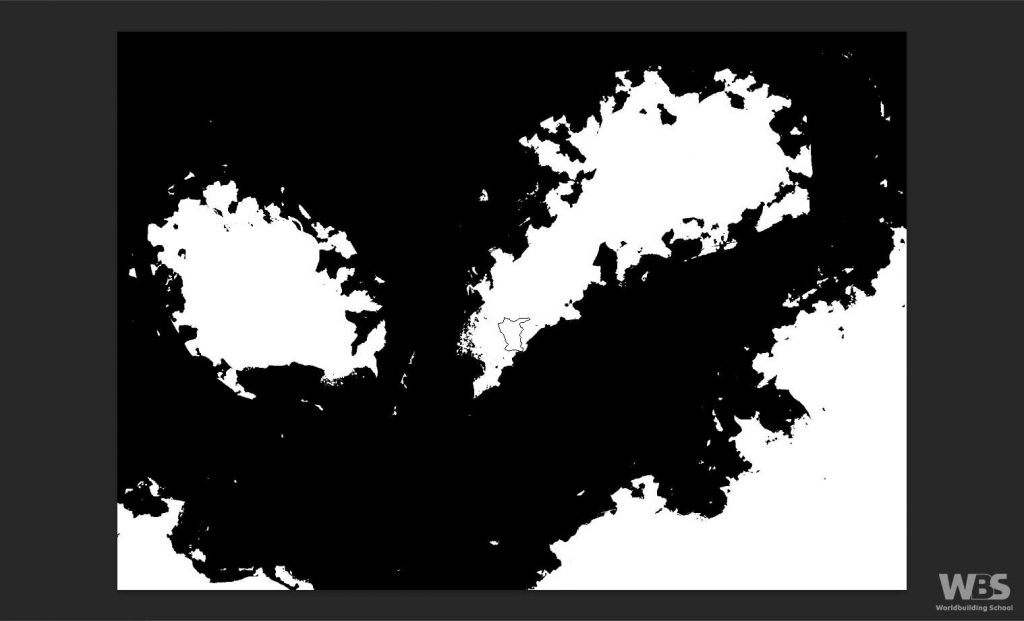
When you first run this action a few windows will appear. Feel free to play around with the settings or simply hit ok. You’ll then be presented with something that looks like IMG 1.
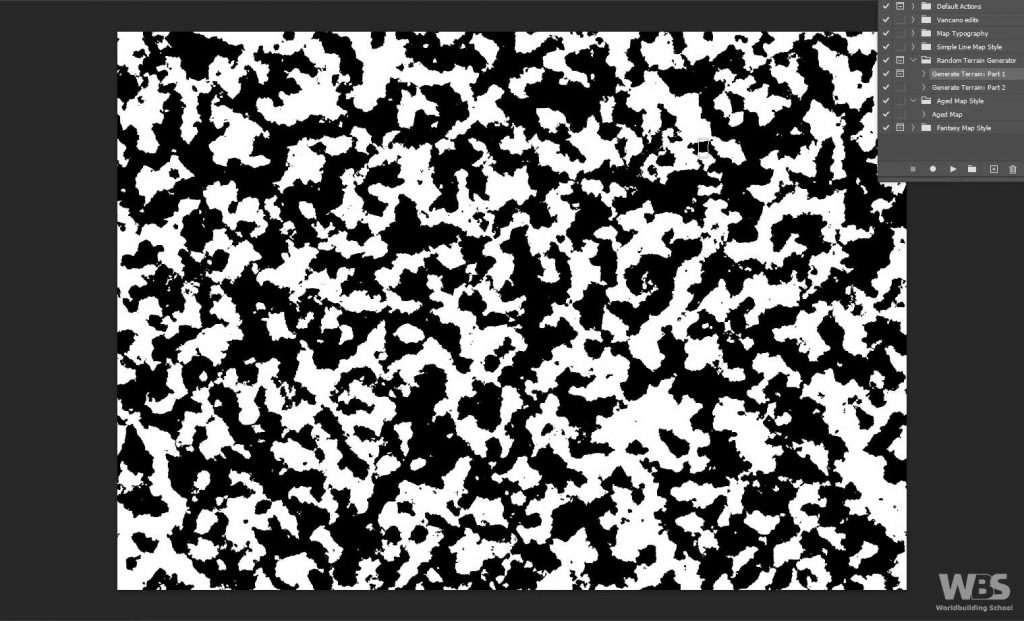
This jumble of white and black is the ‘clay’ you get to shape into islands. This step can be as quick or long as you like. You’ll notice for Carvik I spent quite a bit of time going around the coastline and editing it, but on many other occasions I’ll define the main shape and leave the coast as it is.
Let’s jump in.
The key thing to remember is
- White brush = land
- Black brush = sea
Grab a black brush and work from the outside in, if you want to create a world map (as opposed to a regional map). For Carvik I cleared the top of land but then switched to a white brush and turned the bottom right corner into one piece of land. See IMG 2.
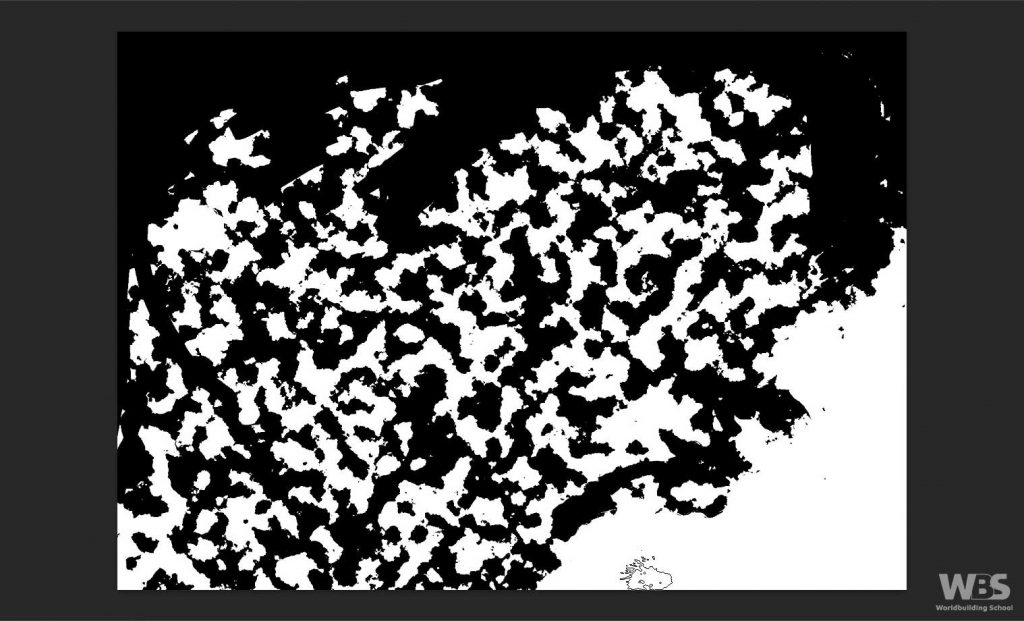
To balance the map I roughly outlined an island on the left of the map (IMG 3) and continued shaping the rest of the map.
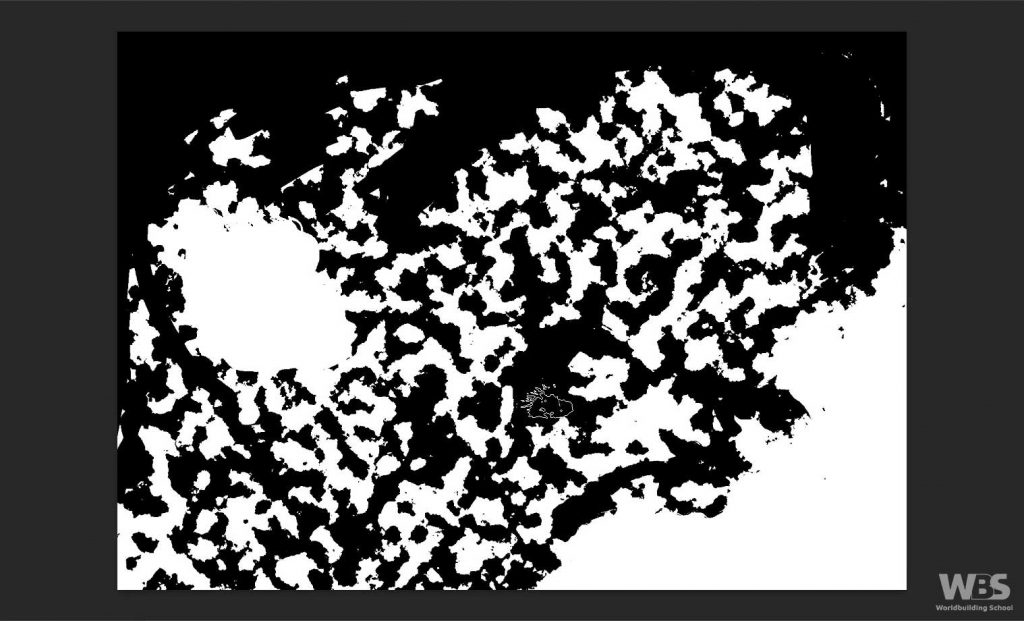
Continue to work through the rest of the white and black shapes until you end up with a final outline you’re happy with. You can see the initial shape I ended up with for Carvik in IMG 4. Then the coastline and smaller islands were cleaned up for the final landmass in IMG 5.
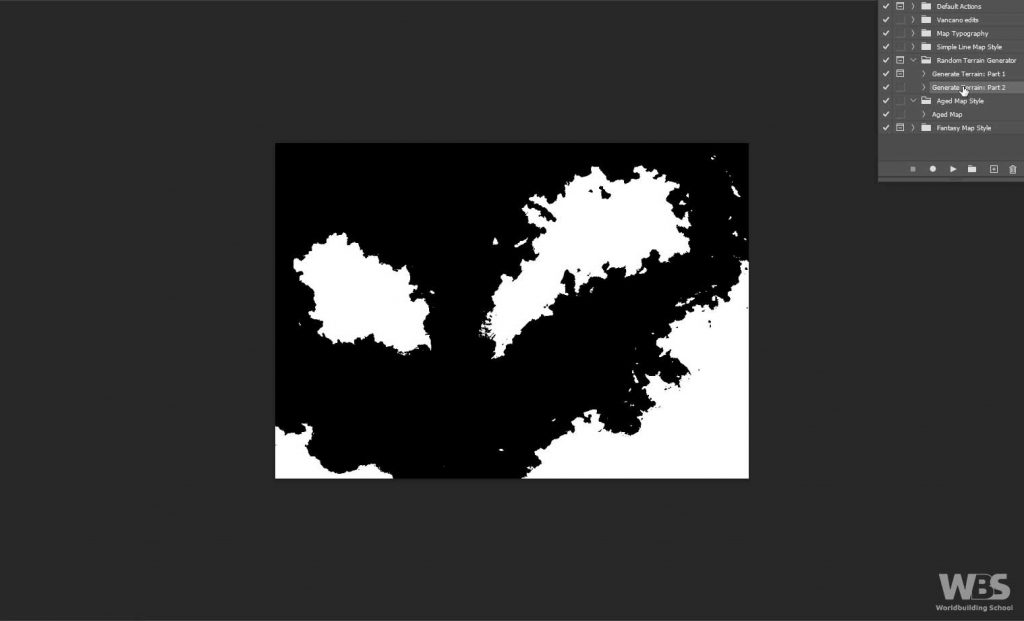
Run the “Generate Terrain: Part 2” and it will take this image and save it as a new alpha channel. This means you’ll be able to call on the land shape later if you need, but crucially the different style packs of Vancano’s Map Generator need the alpha channel to work.
Now you can choose from one of the “style” actions that come with the map generator.
Choose the ‘Aged Map Style’ action to follow along with this tutorial.
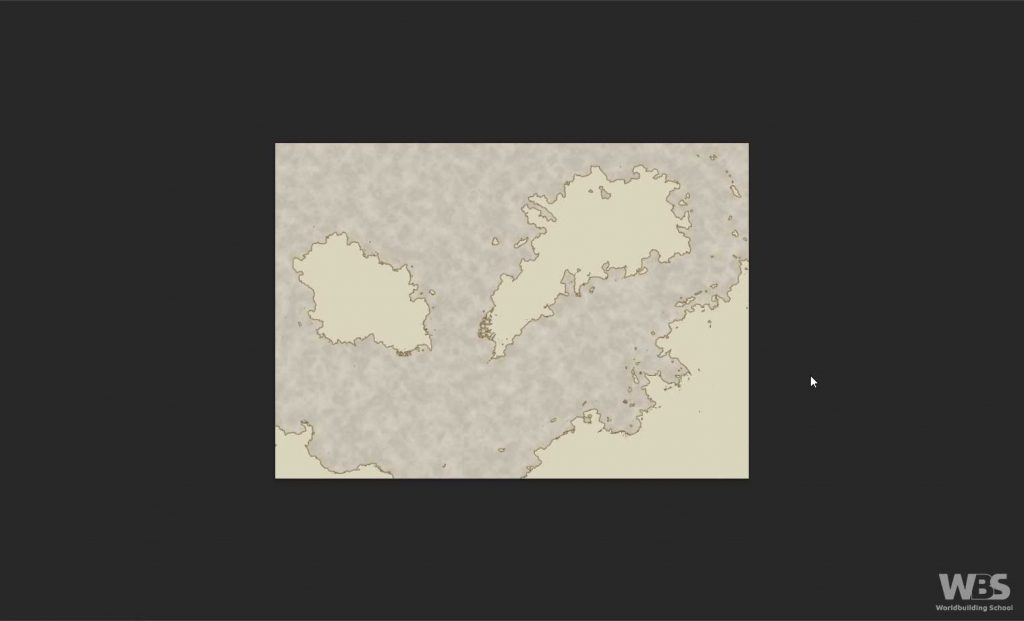
You’ll then end up with a fantasy map that looks something like IMG 6.
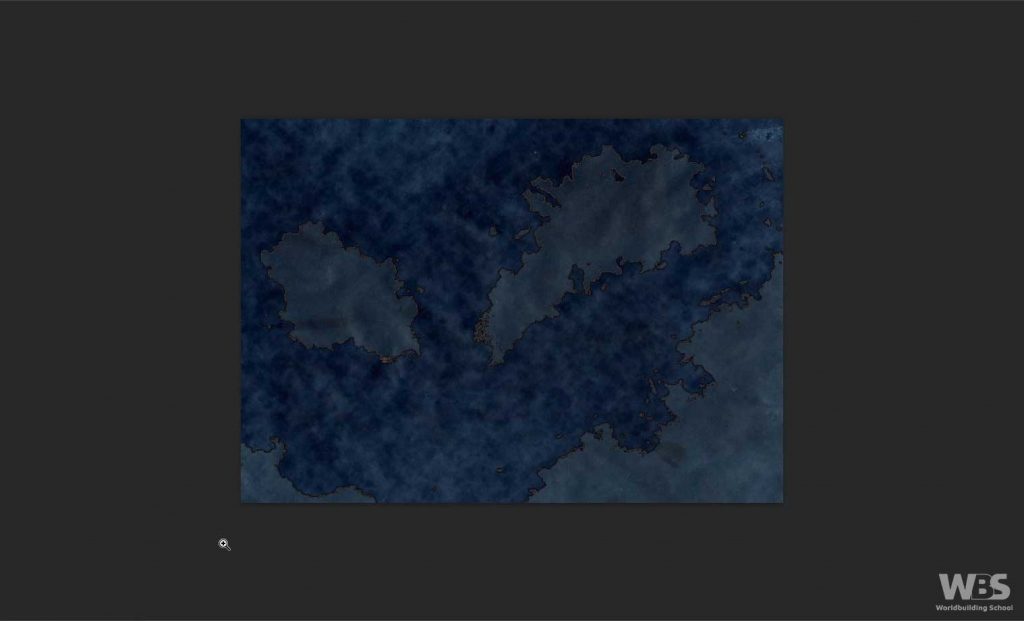
Lay one of the aged paper textures from Map Effects Map Builder on the top layer over the rest of the map. Set the layer style to difference and you should end up with the colours in fig6. A rich blue for the land and sea with a gold coastline.
If you don’t have access to an aged paper texture then Unsplash has a number of paper textures that are free. Or you could fill a block colour of light brown in a layer above the map.
There you have it.
The land is now complete.
Using icons from Map Effects Map Builder to add features to the map
The Map Builder from Map Effects has 200 hand drawn map icons.
We’re going to use them to draw mountains and trees, plus add symbols for cities, towns, strongholds and the like.
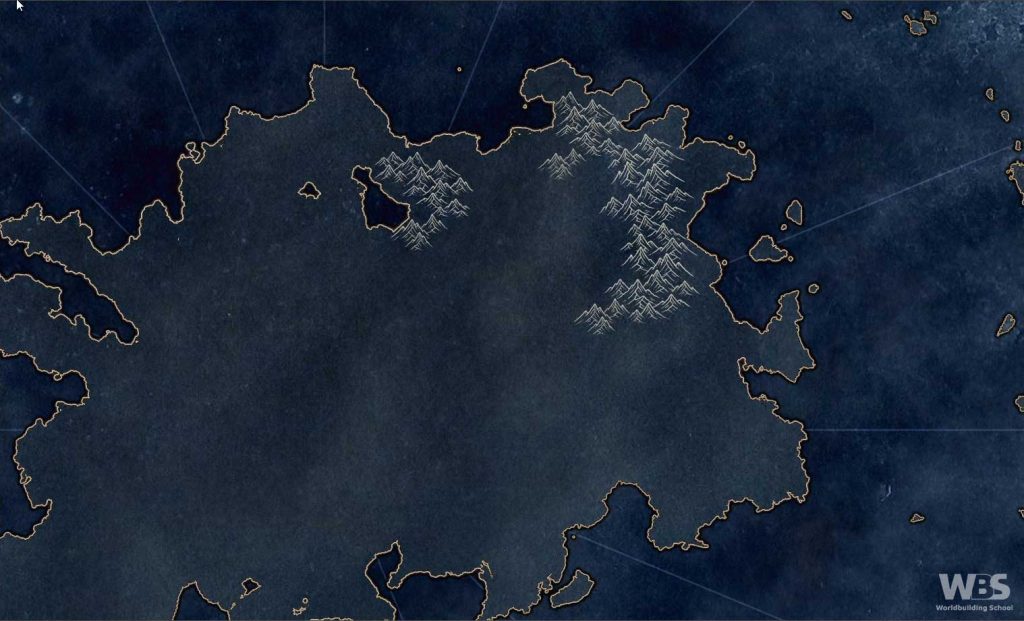
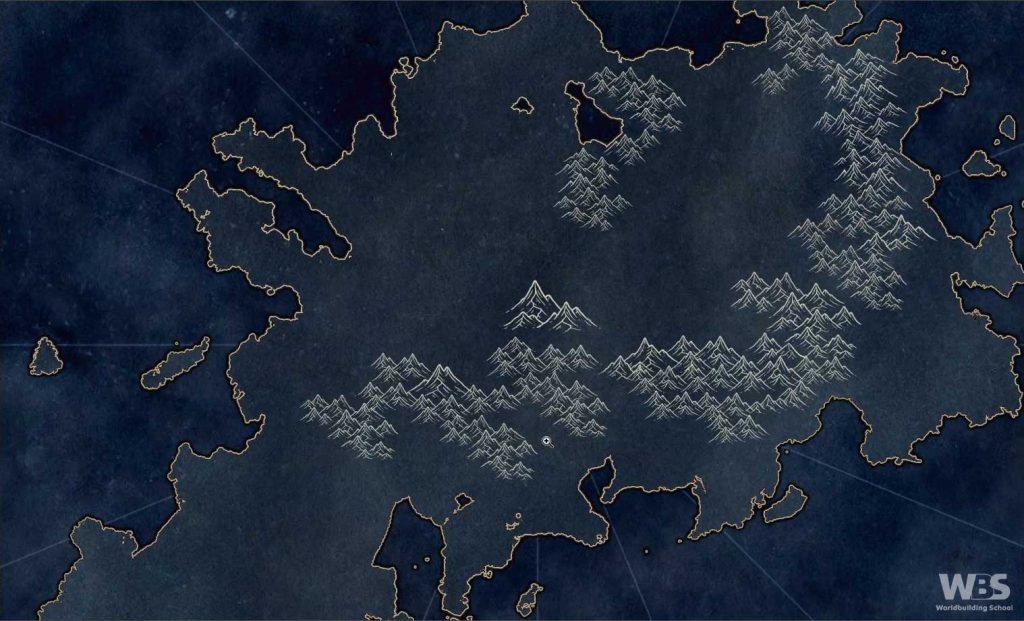
Add mountains
Pick one of your islands and start placing mountains down. I like to start with mountains because they give structure to a map. In the screenshots of Carvik you’ll see I started in the top right of an island and worked my way down.
The mountains are a very light, golden brown. The hex code is: #b2a78f
Add trees
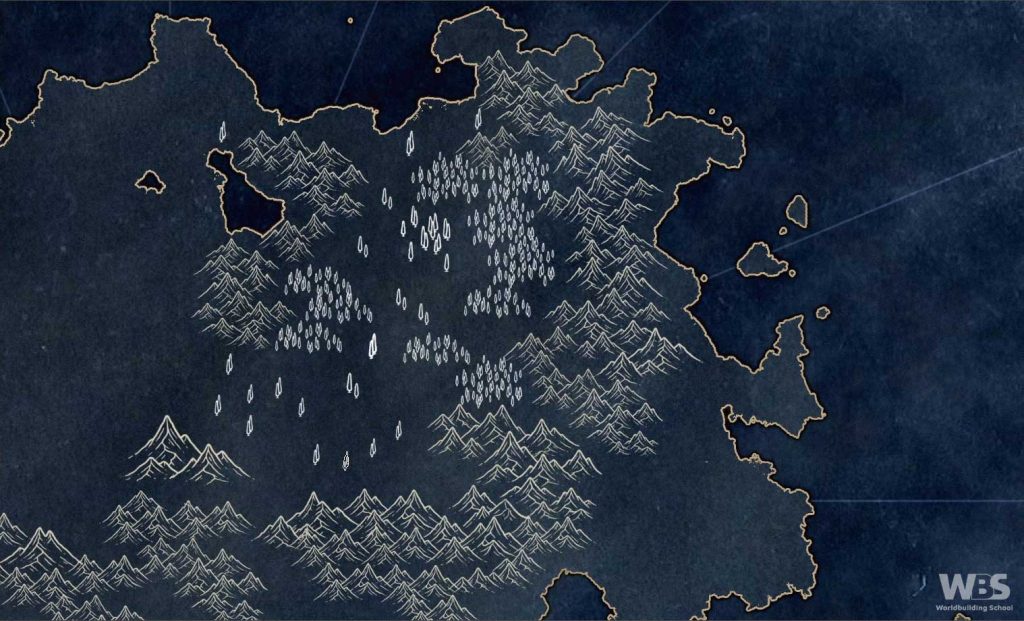
Trees are the next thing that add form and structure to your map. The trees are white, which helps them stand out from the dark blue of the land and light brown of the mountains.
With trees I like to have clusters of forests joined by isolated trees towards the edge or in between the forests. In my mind this gives the indication of a terrain that has trees, but it’s not thick, dense woodland.
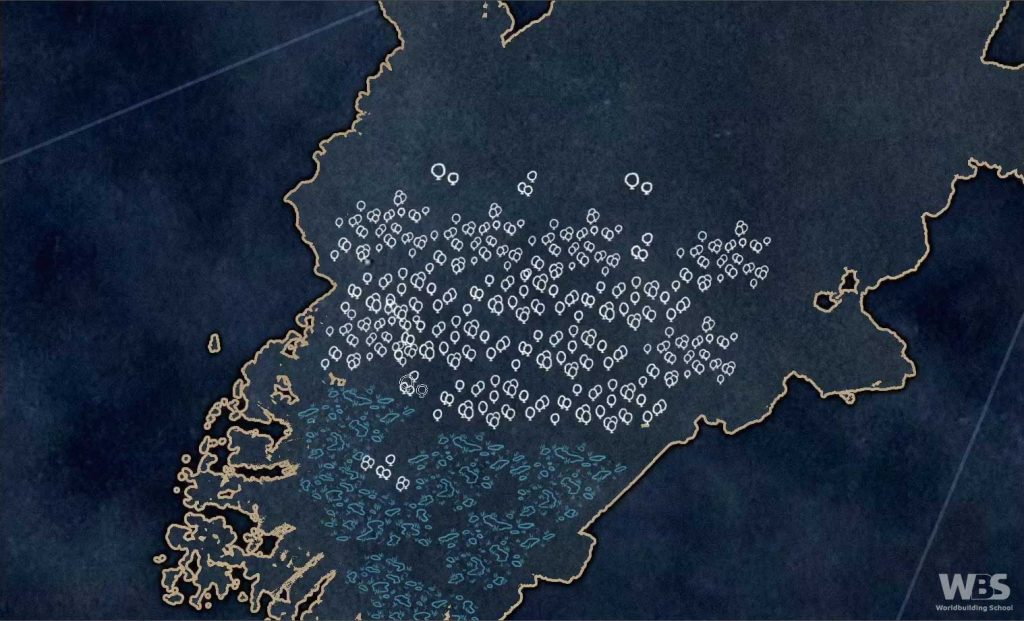
You’ll also notice from the screenshots, and in the chillout time lapse, that I’ve used two different types of trees. This is to give a different character to the two areas of the island, but also it was an opportunity to test the different icons from the Map Builder pack.
Drawing rivers
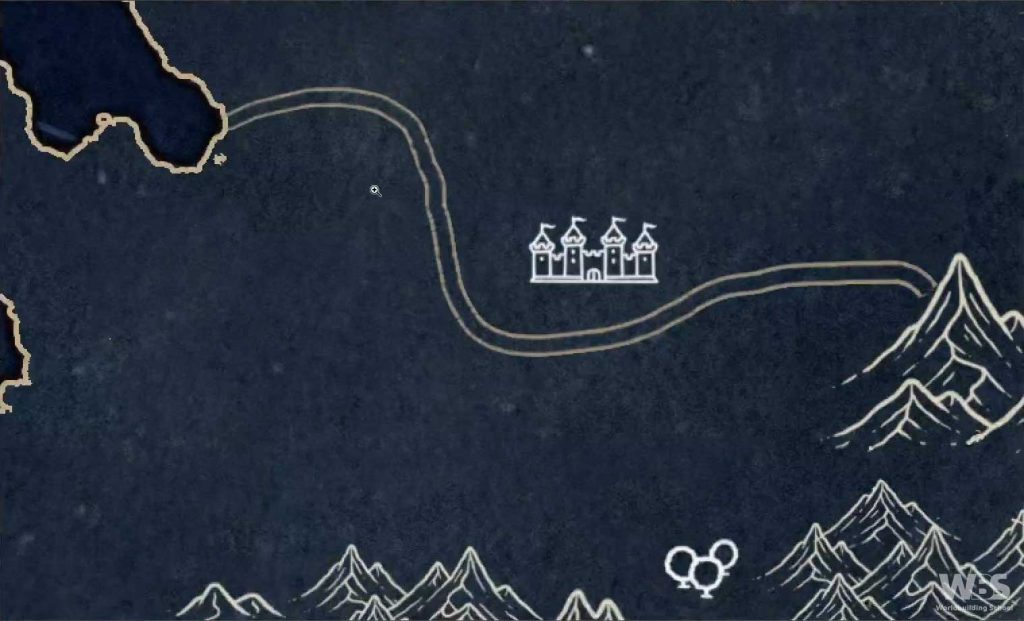
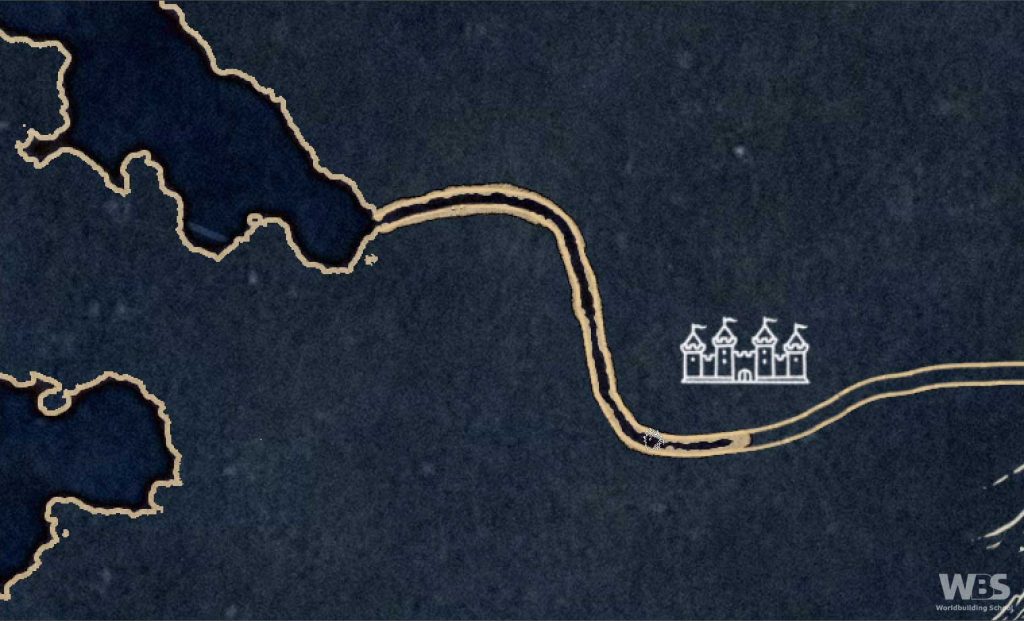
To draw rivers, first sketch how you would like them to wander. Then you can carve the river out of the land using a black brush on the layer mask.
Select the layer mask that’s on the main land layer, and begin drawing with a thin black brush. It will remove the land and add the coastline’s golden stroke as can be seen in fig.13
Perhaps I should have created more rivers on this island, but I also didn’t want the map to become too cluttered. And it was about to become more busy with the civilisations and their trade routes.
Cities, towns, forts and trade routes.
Finally, adding a civilisation to your map brings the map to life. At least in my mind. It’s at this point that I begin to dream and imagine what the people are like, how was the country formed. Does it have any major exports or useful natural resources to exploit?
The first civilisation uses light green as their colour. If you’re following along then the hex code is: #a7f0bb
The second civilisation is pink and uses the hexcode: #f019cf
To note, I’ve coloured the elements using the colour overly, layer style. The green is at 100% opacity but the pink is at 44%.
Where to place your cities and towns?
No doubt you’ll have heard the usual advice of placing towns and cities on rivers. As it was easier to trade cargo up and down a river than it was over land.
I also like to draw towns or cities at logical crossroads between trade routes. I choose whether it’s a town or city depending on how important I think (or want) that trade route to be. If the trade routes on the crossroads are important then I’ll place a city, otherwise it’ll be a town.
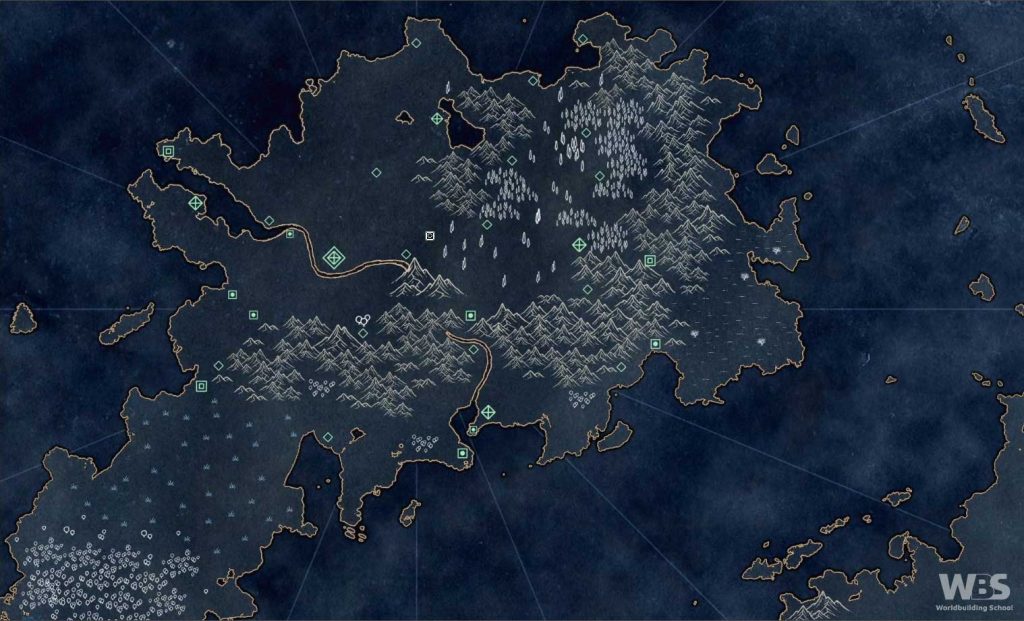
- Cities are represented by diamonds with a cross in the middle.
- Towns are represented by small diamonds.
I then place strongholds and fortresses in what seem like defensive locations.
- Fortresses are squares with a square in the middle.
- Strongholds are squares with a circle in the middle.
This is what the final placement of the first civilisation looked like.
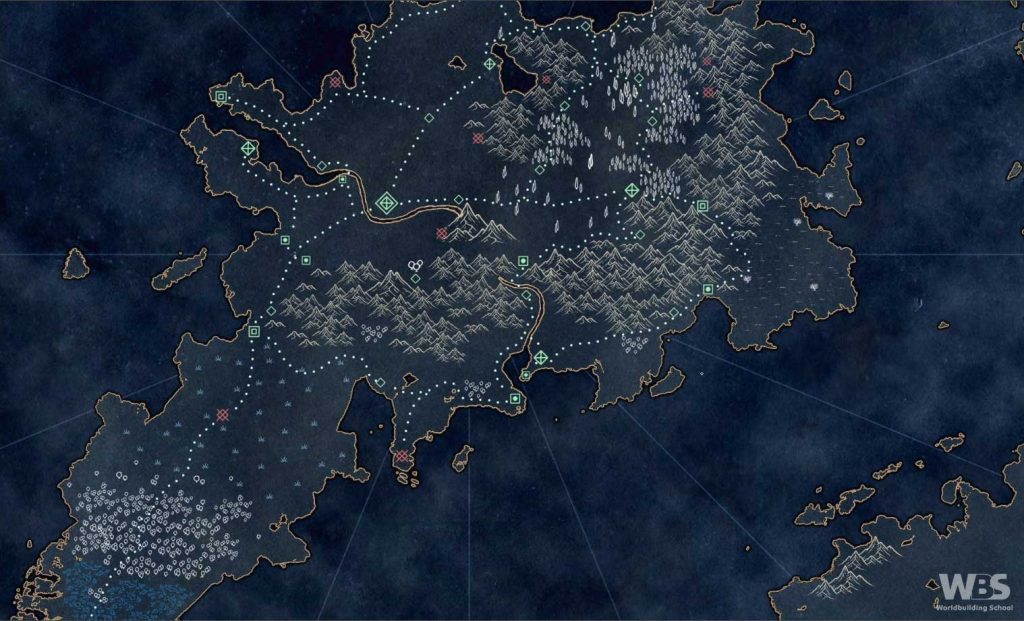
Now you should join all of your locations up with the dotted path.
Once you’ve connected your cities, towns, fortresses and strongholds you may notice a few places the trade routes either meet or come close together. At this point you should add extra towns or cities as makes sense, or even a stronghold if your civilisation is more military inclined.
This is the final view of the first island with the trade routes added. I’ve also placed a few ruins using red, hexcode: #ee1a4c and the opacity set to 44%.
Repeat the process for the second and any other civilisations
Figure 16 shows the second civilisation in pink (hexcode: #f019cf). I followed the exact same process for this island as for the first.
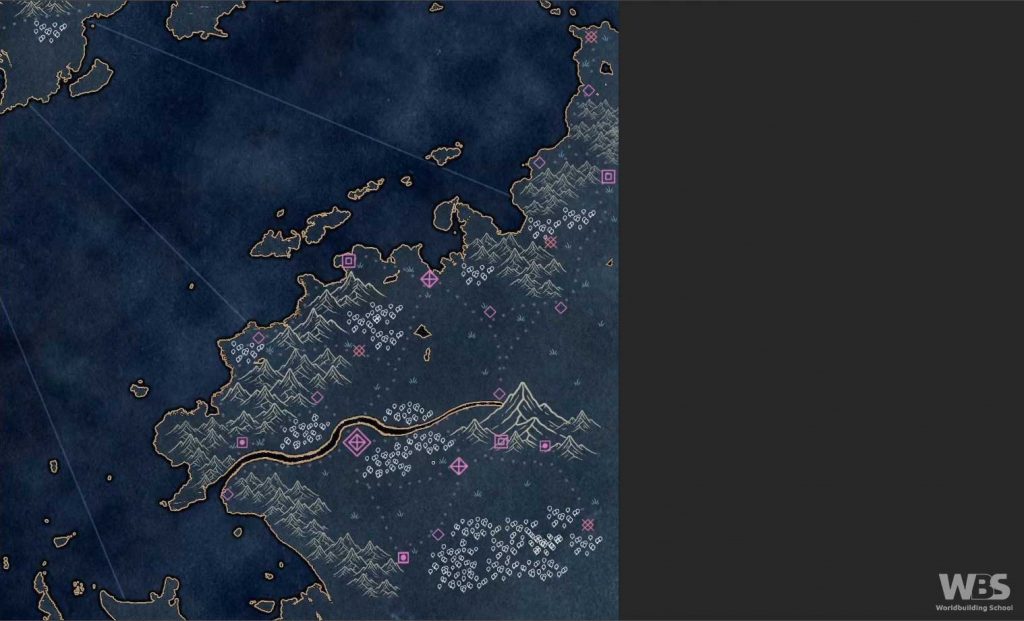
And that takes us to the end of the Carvik video. If there is anything that isn’t clear in this guide, then please feel free to ask questions in the comments.
Also, if you’re on YouTube please subscribe to the Worldbuilding School. I have a couple more time lapse art videos lined up, not all of them are maps.
