You’ve asked for a more detailed tutorial on how to create a map. So here we go. This is the first part in a number of tutorials that will show you exactly how to create a stunning map using nothing but Photoshop. In this first part you’ll learn how to generate random terrain using Photoshop.
Also, to make this tutorial easier I’ve put together a checklist you can download.
The final style is similar to a map I’ve drawn recently and shared on DeviantART:
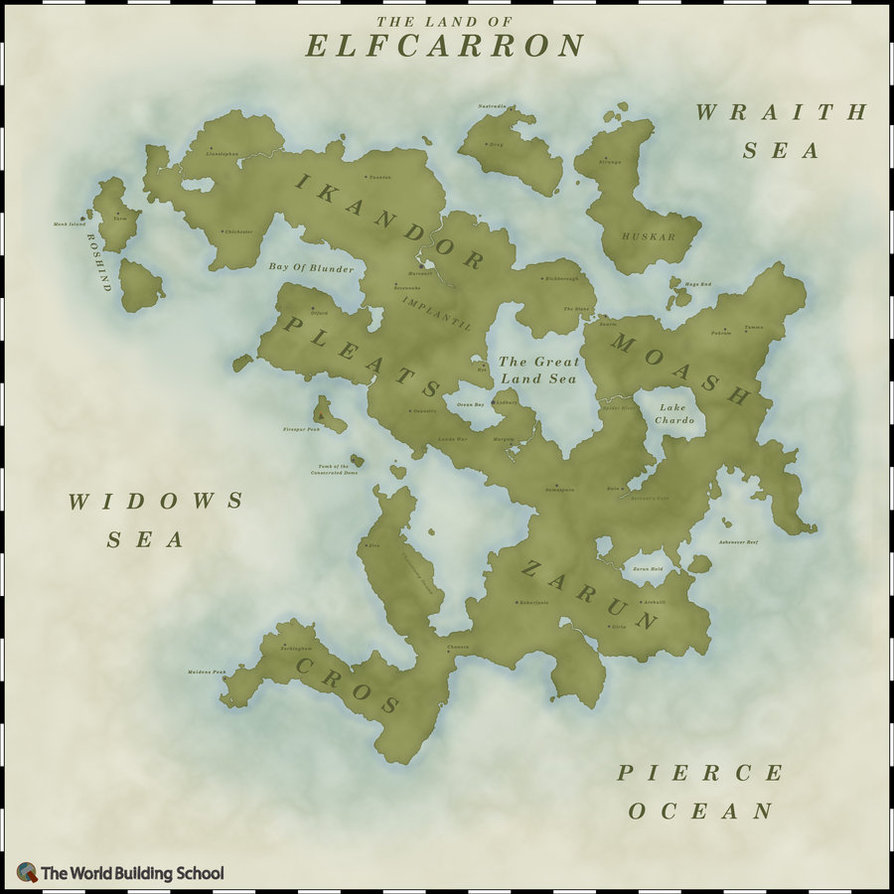
However first things first. I’ve shown you how to draw land using wavy lines and pencil on paper but this tutorial is different. We are going to use Photoshop to procedurally generate terrain. So the landmass I create here will be different from the one above – though it is created with the same technique.
Step 1: Set Up Your File
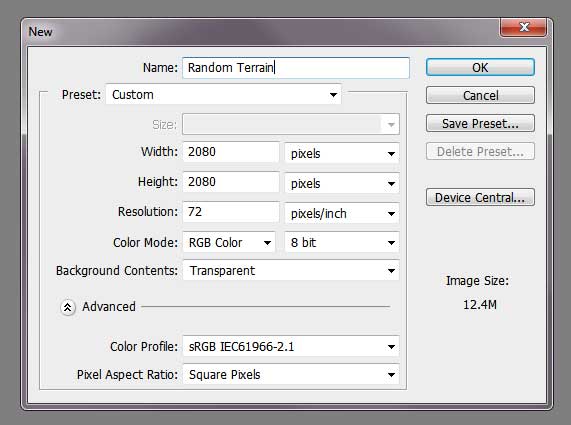
I like to build my maps around 2000 pixels by 2000 pixels at 72dpi as I find it provides a decent level of detail without eating up too much memory that it makes Photoshop die. However, to add the distance boarder later on you will need to have a slightly bigger canvas. So open a new file and set it to 2080×2080 pixels with a 72dpi – this size will make sense later on.
[info]File > New > height = 2080 pixels, width = 2080 pixels, resolution = 72 pixels/inch[/info]
Step 2: Generating The Land
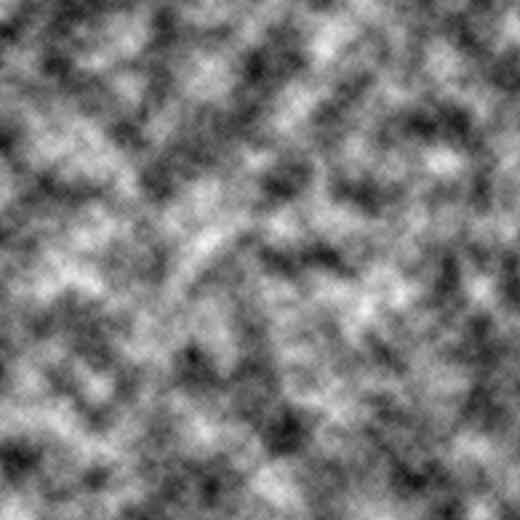
The next step is to generate some data that can be turned into land. The simple way we do this is to use a render cloud. You can keep running a cloud pass until you find a formation that you like, though I generally use the first one that comes.
[info]Filters > Render > Clouds[/info]
You should have something that looks like this:
You now want to remove part of the cloud data so that it leaves you with an interesting island shape. To do this we add a threshold layer.
[info]Layer > New Adjustment Layer > Threshold[/info]
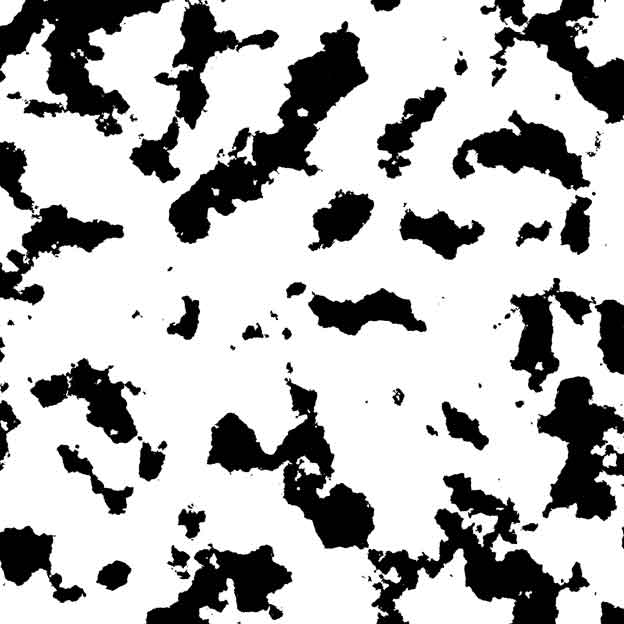
If you click on the threshold layer there will be a graph in the top right under which you can move a slider to change the threshold. Have a play with the slider until you find a few shapes you like. The further left you go the more white space you get and the further right you take the slider the more black you get. As a heads up the white space will be land and the black will be water.
My photo below was set to 100 on the scale.
Step 3: Removing Unwanted Land
Click on the layer with clouds in it and create a new layer which will appear between the cloud layer and the threshold layer.
[info]Layer > New > Layer > name it “paint”[/info]
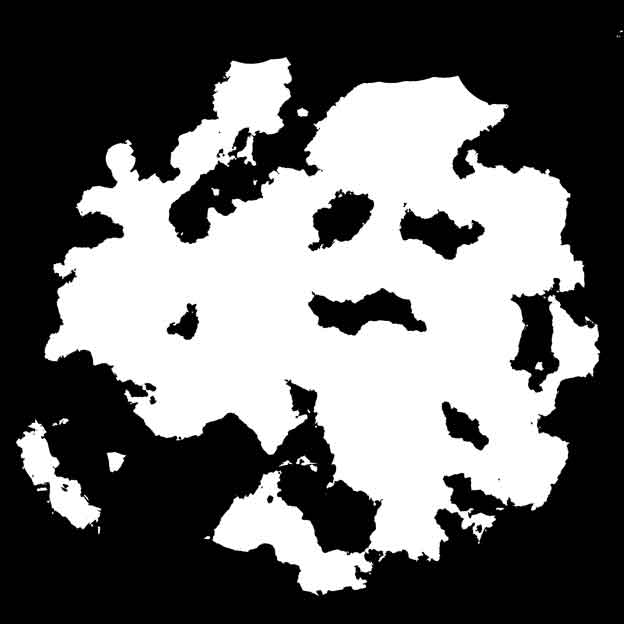
Now you want to take a black brush and begin to paint over the areas where you’d like to remove the white “land”. Test out different opacities of the brush to remove varying amounts of land. You can also use a white brush to add land.
Here’s what I ended up with:
Step 4: Creating A Selection
To make selecting the land easier in the future and to reduce the number of layers you now want to merge the layers and this is the way we’re going to do this. Firstly click on the channels tab (it should be next to the layers tab) and create a new channel – it’s named Alpha 1 on mine as standard.
Then go back to your layers tab and highlight all 3 layers then select all.
[info]Select > All[/info]
Now copy merged.
[info]Edit > Copy Merged[/info]
This should copy the results from all 3 layers onto your clipboard. If you now return to the Alpha 1 channel and paste onto the channel you should see all of the white land you had created previously.
[info]Paste onto Alpha 1 channel[/info]
For future reference this area can be easily selected by going to the following menu:
[info]Select > Load Selection > Alpha 1 (under the “channel” drop down menu)[/info]
Step 5: Painting The Land
You can now delete the threshold 1 layer. I’ve also deleted the other two layers as I prefer to use a different cloud layer as a texture later on rather than use the same one.
All that is left to do is to paint the land onto a new layer.
[info]Layer > New > Layer[/info]
The land colour we will be using for future tutorials is a green (hex code: #979d5f) though if you’re going on to create a different style of map you may simply want to paint the land white (#fff).
Using the fill tool click anywhere on the layer to fill it with green (#979d5f)
Next load the Alpha 1 selection and add a layer mask to outline the land.
[info]Select > Load Selection > Alpha 1 (under the “channel” drop down menu)[/info]
[info]Layer > Layer Mask > Hide All[/info]
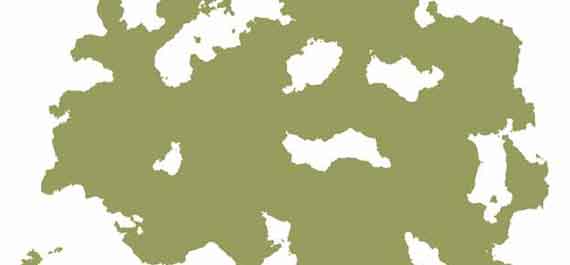
My map now looks like the following:
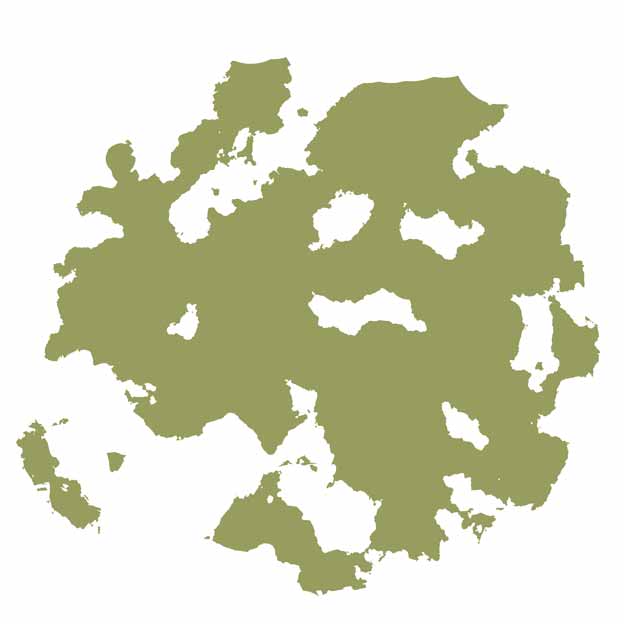
I’ve added a white background so you can see the land easier but this will be changed in future tutorials.
I Want To Download The Random Terrain Checklist
Your map is now ready for the next tutorial.
Leave a Reply