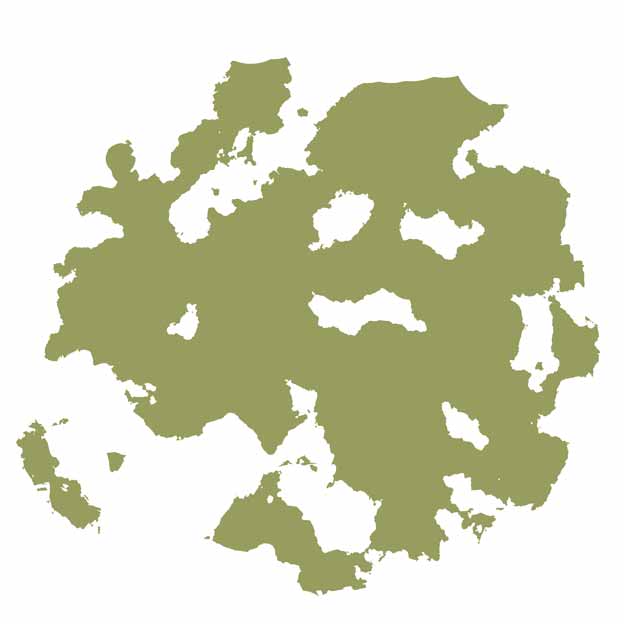
If you’ve randomly generated your land from the last tutorial then you should have a green island ready to start this next part. My island looks like the following:
If you missed the first part of this tutorial then don’t worry. Simply visit the generating random terrain tutorial to get started.
I am showing you here the process I went through to develop a style for myself. Not only that but I’ve used a few other techniques learned over years of creating maps and I continue to add to and develop this style.
Step 1: Add The Ocean
This first part is very simple. Create a new layer and fill it with cream (hex code: #e3e2cf) I named this layer “Deep Ocean”
Layer > New > Layer> Name it “Deep Ocean”
As mentioned this step is very simple. You should now have two layers one named “Deep Ocean” and another named “Land” which is filled with green (hex code: #979d5f)
Expert Tip: Masks Are King
You’ll see throughout this tutorial and any other tutorials I produce that I always work with a solid colour and paint onto a layer mask over it. The reason for this is that it provides greater flexibility when editing the layer.
Firstly I can ensure the deepest colour a layer will be and that the lines are clean. Not only that but if you’re working with a textured layer the texture can be moved around while still only showing where the mask allows.
Step 2: Texture The Ocean & Land
This is the fun part to the tutorial because the texture is where the map really comes to life.
Create a new layer above the “Deep Ocean” and “Land” layers.
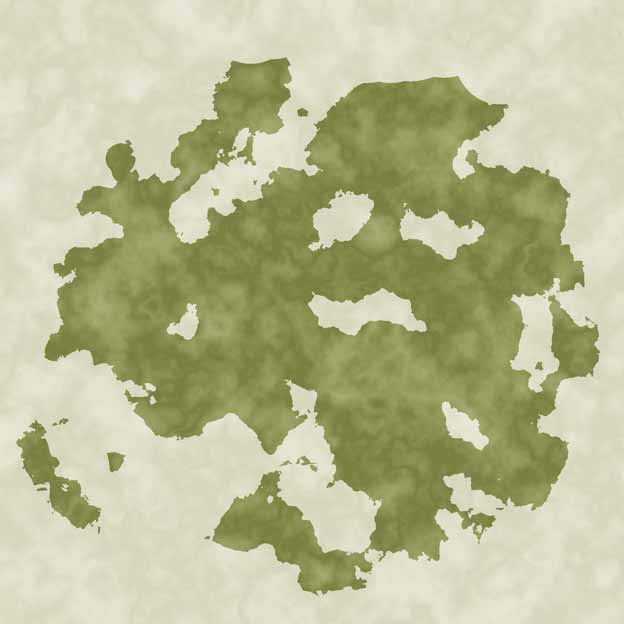
Name this new layer “texture” and set its opacity to 50% and layer style to “soft light” then fill it with a render cloud as shown in the previous tutorial. You’ll also want to run a number of “difference cloud” passes.
Layer > New > Layer > named “Texture” > opacity 50%, layer style ‘soft light’
Filter > Render > Clouds
Filter > Render > Difference Clouds (multiple times)
You should now have something that looks like the following:
The main style of the map is starting to take place though I like to add even more levels to the texture so add a layer mask and hide all.
Layer > Layer Mask > Hide All
Make sure that the mask is highlighted on your layer panel. Then set the foreground colour to white (hex code: #fff) and take the brush tool. Set the opacity to a low figure, I find 20% a good setting, and begin to paint over the ocean and land. If you go over an area more than once then it will become darker and you can create really nice levels of colour and texture this way.
Don’t forget you can also paint in black to correct any mistakes you may have done.
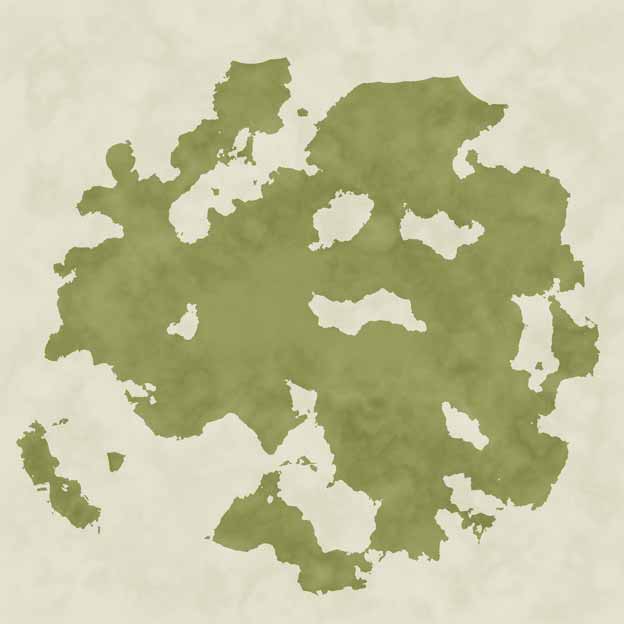
And here is how my island looks after using the layer mask. It’s perhaps not a massive difference but there are some subtle points that make all the difference.
Step 3: Finishing The Land
Having built up the texture of both the land and the ocean there are just a few more elements to finish on the land before moving onto drawing in the shore and coastline.
On your land layer we are going to add a stroke and inner glow. The stroke will help to pop the island from the ocean a little more and make the difference clear. While the inner glow adds depth to the land.
Layer > Layer Style > Stroke > Size 2 > colour #7e834e
Layer > Layer Style > Inner Glow > Blend Mode Normal, technique precise, colour #8b915c, size 20
You’re now ready to paint the coast and shore line in the next tutorial.


