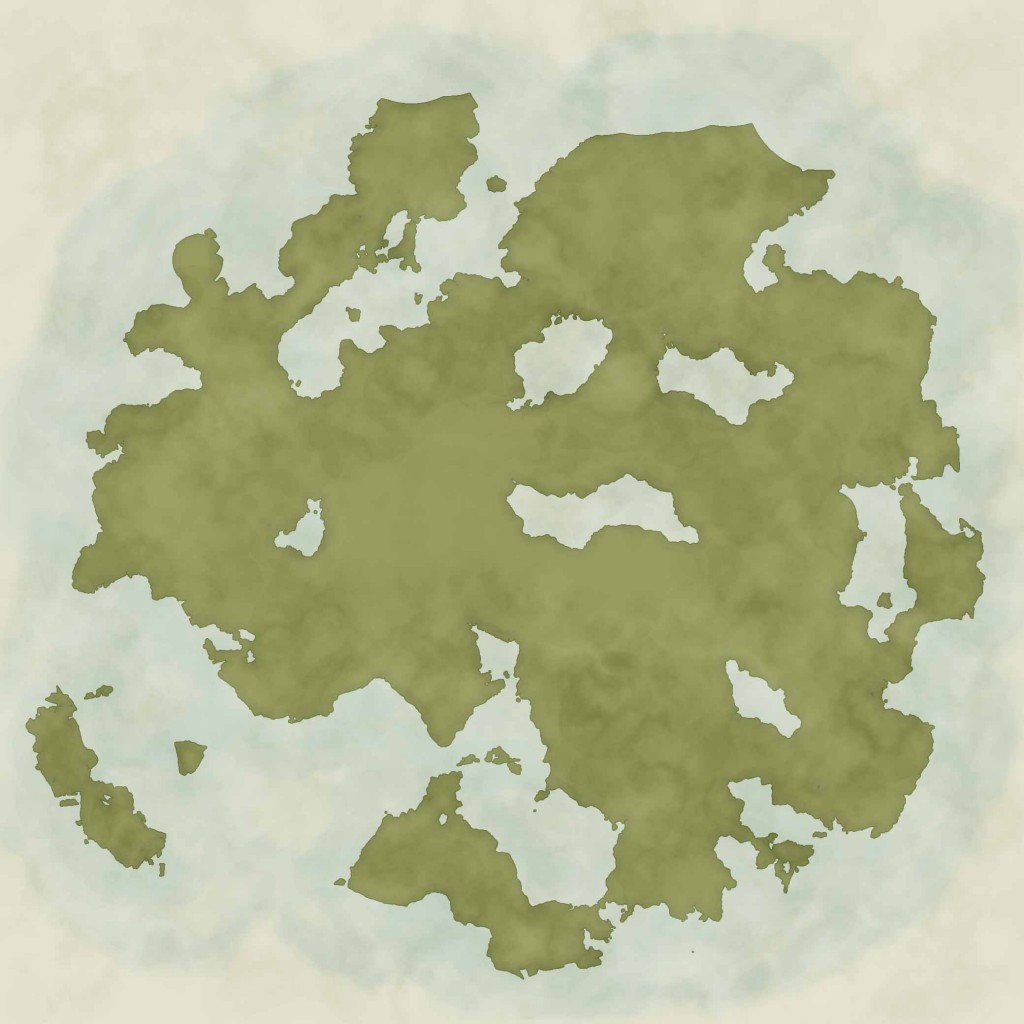
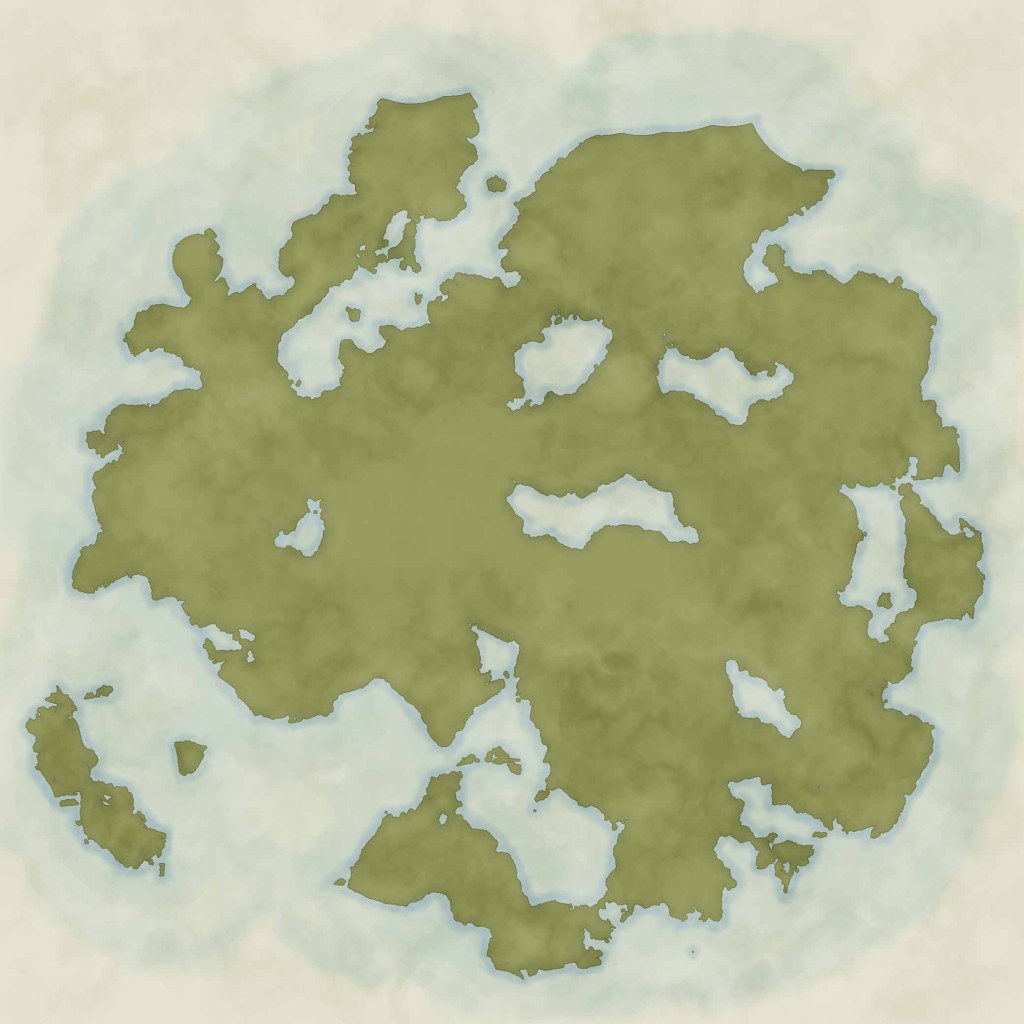
This is the 3rd part in a series about drawing your own map. If you missed part 1 or part 2 then it’s recommended that you read those articles first. Also, don’t forget to draw along as you read the articles as you’ll learn much more from doing than you will from just reading.
Step 1: Sea
The sea layer is where you start to add some extra colour to your map.
Create a new layer and name it “Sea” then fill it with a light blue (hex code: #b6ccc2). Now mask this layer and hide it.
Layer “Sea” > Fill #b6ccc2 > Layer Mask > Hide All
Here is where part of the fun can begin.
Soft Brush Technique: The important thing while painting both the sea and the coastline is to use a very soft brush. I select a brush that has a 0% hardness to it as it really helps to blend each stroke into the next.
When painting the sea use a 50px brush with 0% hardness and 20% opacity. Then paint loosely around the land doubling over each stroke to add extra colour where needed. Try to think “light and fluffy” when painting as the whole style of this map leans towards a soft feel.
Don’t forget to leave a good portion of the water area white as it represents the deep ocean.
Brush > 50px, 0% hardness, 20% opacity

Once all of your land has been surrounded by sea you are ready to move on to the Coastline
Step 2: Coastline
The coastline could also be called the shelf as that is actually what you are drawing here – the part of the land that is still visible through the sea. That’s why this layer uses a darker blue to the sea as the darker colour gives the impression of solid land under the water.
As previously create a new layer and fill it with blue (hex code: a6bdc3) and hide it with a layer mask.
Layer “Coast” > Fill #a6bdc3 > Layer Mask > Hide All
To paint the coast layer you’ll want to use a similar brush to the sea layer however reduce it in size to 20px.
Brush > 20px, 0% hardness, 0% opacity
When painting remember to use the Soft Brush technique talked about earlier in this article – light and fluffy while adding different levels of colour by doubling over your brush strokes.
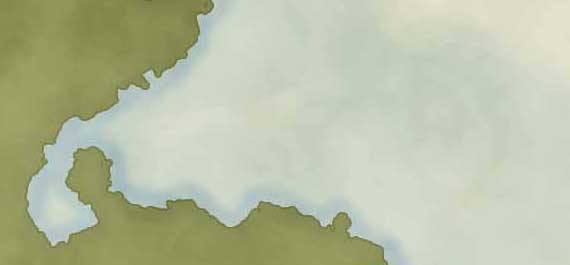
As can be seen from the photo below the coastline is simply drawn around the landmass like an extra highlight, however it’s critical in creating depth and contrast against the land.

The Next Step
Next week will see the final part in this tutorial. You will learn how to label the regions, cities and areas of interest along with adding the boarder to the map.
Once you have completed the final tutorial you will have a map ready to be displayed to your fans.
Wish you could add this style in a couple of clicks?
Well you can. Vancano’s Map Generator is an action for Photoshop that not only created the fantasy map style you’re learning here, but also 4 other styles. Here’s a video showing you the styles of the map generator in action:
