You can learn a lot from video games.
Especially the way some RPG games build their open sandbox worlds – which has inspired me to run a worldbuilding experiment.
Even if you have no interest in video games what so ever, stick with me as this could prove to be a really interesting way to organise your world.
Content Menu
This is a long article (currently 1,800 words after only 1 update). So to help navigate here’s a contents page:
I know organising your worldbuilding is something many of you struggle with as I regularly receive emails such as this:

Hi Nathan,
I’ve only recently started Worldbuilding and currently I’m just toying with a few ideas, however I really struggle with organising all the ideas into one place to keep them coherent. Do you have any suggestions?
and this:

Hi! I just signed on for your Worldbuilding School. I’m fairly accomplished at the craft, but my issue is figuring out how to organize it all, make it all make sense together. I keep jotting down notes here and there, and that has worked in the past, but I am starting some very large projects and I want to be more “professional” about it. 🙂
For easy reference I’m calling this experiment Grid Worldbuilding. I’ll explain what it is and how the experiment will work later on in the article.
If you’d like to receive an email notification as soon as new updates are added please enter your email address here.
But first.
Most mobile games suck. Yet not this one…
If you’re anything like me then I bet you’re tired of the ‘freemium, pay £1,000 to play’ games that have flooded the app store.
So it’s refreshing when you find a game that’s enjoyable to play and doesn’t require you spend more money to ‘regenerate your energy’.
Exiled Kingdoms is such a game. You can play the first few areas for free then it costs around £3 to buy the rest of the game – and it’s worth it.
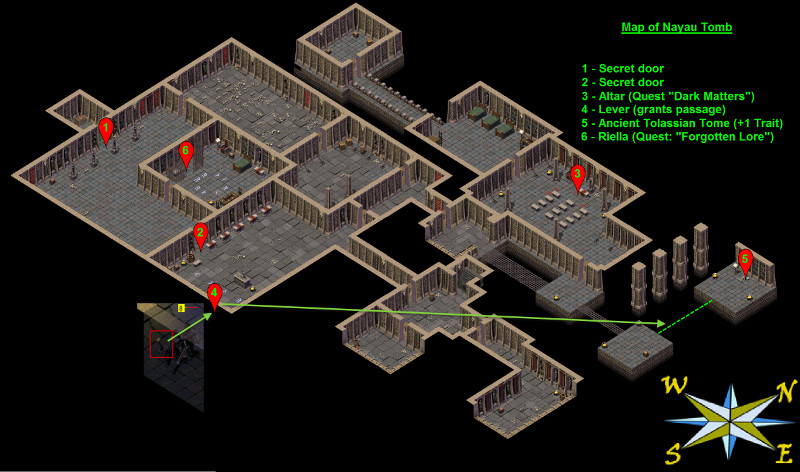
The game reminds me of Baldur’s Gate. See for yourself.
This is a picture of one of the dungeons you can explore filled with sneaky undead and cultists.
And here’s the inventory screen:
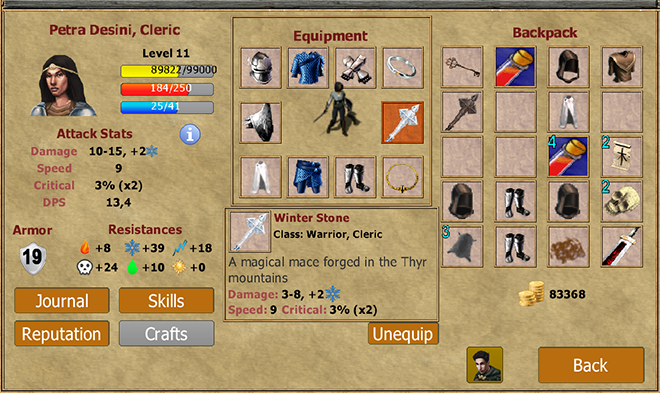
Sure the world is your typical fantasy setting full of every trope in the RPG encyclopedia of tropes. However, don’t let that stop you from trying out what is a good mobile game.
But that’s not why I’m telling you about the game.
I’m telling you about Exiled Kingdoms because of the way the game is designed.
Each part of the playable world is split into different areas. This is because your phone only has a limited amount of memory so designers have to load one area at a time.
This was the same with games consoles and computers before they had the power to create seamless loading environments.
Here’s a map of the currently playable area in Exiled Kingdoms (the whole game isn’t finished yet):
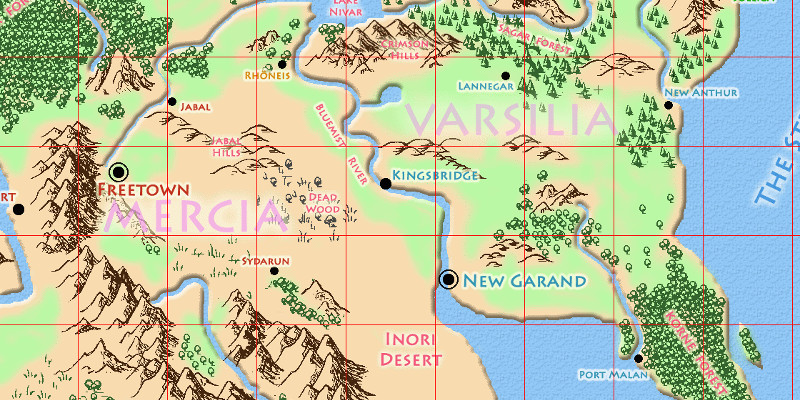
See how the map is split up into different grids.
Then I realised, this is a great way to build a world!
Here’s why – stick with me on this.
Your imagination is far more powerful than a computer game. It also costs less to create a story or game using only your imagination.
As an author or game master that’s the biggest strength you have over a video game designer.
As it turns out, that can also be a real weakness.
You see, by having no limitations your brain is over loaded. So you spend months and months, maybe even years, trying to flesh out a whole new world.
I know this to be true from personal experience.
Meanwhile, if you had the same limitations as a video game designer your world might be created sooner.
Best of all, once you have part of your world built you can get onto telling stories, running games and showing other people your world.
An Experiment In Grid Worldbuilding
Here’s the start.
It’s an experiment to quickly build a world using a map and a grid.
So I will be using a top down, map first approach.
To start with I’ll be focused on the planet section of the Worldbuilding Framework before moving onto the people or universe.
By the end of this experiment I expect to have a rich world mapped out that could be used by any one of the following:
- a games master to run a table top RPG
- a writer to tell a fascinating story
- a game designer to build an open world role playing game
To make this experiment quick and easy I’ll be setting a few extra limitations:
1, Only humans
it’s just easier and quicker than trying to develop new interesting races. If I get bored I might throw a trope race in (elves, dwarves, orcs etc.)
2, A single large island.
rather than lots of continents. The main reason being if I create lots of continents there will be some squares that are simply ocean.
Oceans are interesting features of a world (possibility for small islands, large sea battles and adventure etc.) however I can’t see how a large ocean area will add to this experiment.
3, Don’t be afraid of Tropes
The goal of this experiment is to test the validity of a grid worldbuilding framework not spending hours in cultures, characters and the rest. So I won’t be afraid of tropes.
If this works I’ll go back and design a new world from scratch taking more time over the whole process.
Timescale
I’d like this to last no more than a month. Though as I have limited spare time (boo to being employed) and other projects on the go it might take longer to design the map and publish updates.
Grid Worldbuilding Overview
Here’s a quick step by step plan I’ve put together to outline the process I want to follow. Nevertheless, as this is an experiment there is a good chance it will change.
Please feel free to follow along with me.
- Draw a world map
- Split it into a grid
- Assign a page for each grid
- Draw world details in the grid.
- Match the grids up so they link.
More updates to follow
If you’d like to keep updated with this experiment then you can subscribe by email here. I will be adding updates to this page so check back regularly.
Also, if you’d like to join in with this experiment let me know by leaving a comment below. Feel free to add a link to any updates of your own world.
Update 1: The World Map Begins Here.
Good News!
This is the first update in my Grid Worldbuilding experiment and I’ve started to draw the world map – pictures are posted below.
As you will see in the pictures I’m using the regional map paper print out from my Map Maker Resource Kit.
I’ve picked the regional paper rather than the world map paper because I wanted to create a smaller compact map.
If you’d like to follow along with my experiment then you can buy the Map Maker Resource Kit here.
So here’s what I’ve been working on since the first part of this article was published.
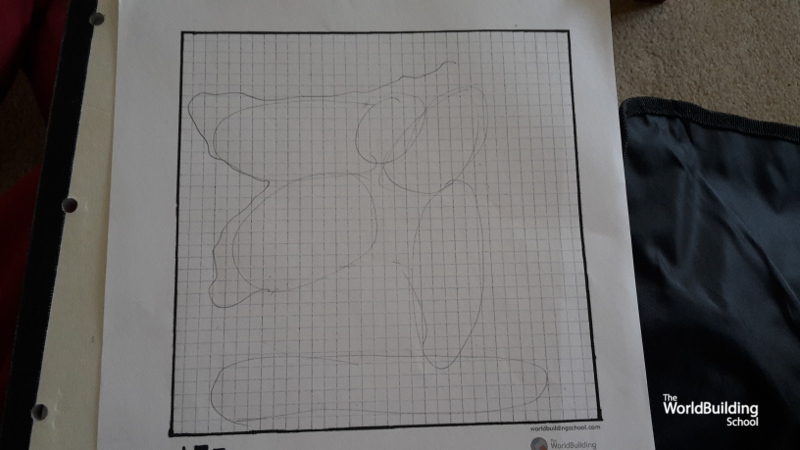
I’ve decided that this world will have 6 main civilisations all competing for power.
The first picture is the rough location of each civilisation. This is a smart technique I learnt from cartographer Jonathan Roberts of Fantastic Maps fame.
What you want to do is draw a circle for each civilisation/political entity on your map. While drawing the circles make sure they touch/cross as these are places where there is the opportunity for conflict.
And conflict is essential to a great story.
Note: sketch your circles very lightly so you can rub them out later without leaving a mark.
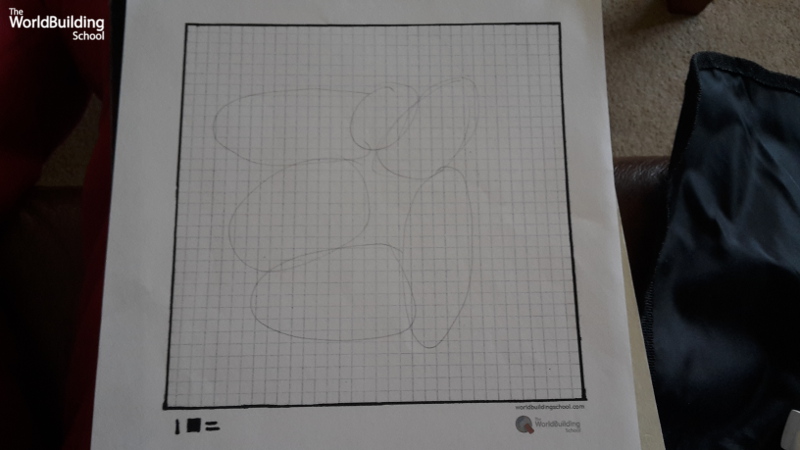
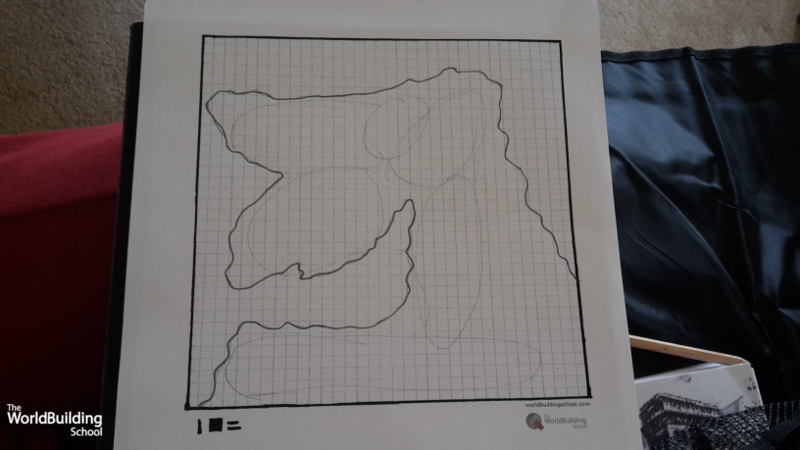
Once you have the outlines of each civ the next step is to draw the coast line. Again do this very lightly at first.
You can also see in picture 2 that I’ve moved the bottom civilisation further down the map. This is because I wanted to create a bay, similar to the Mediterranean.
Here is the final coast outline.
Note: If you struggle with any part of the map process then The Author’s Guide To Drawing Maps is a great guide to learn the basics. You can sign up for it here.
After creating the coastline I like to sketch the main features such as mountains, rivers and land sea. I’ve also marked the rough position of the temperate bands – subartic, temperate and subtropic. Doing this really helps when deciding what terrain should be located where.
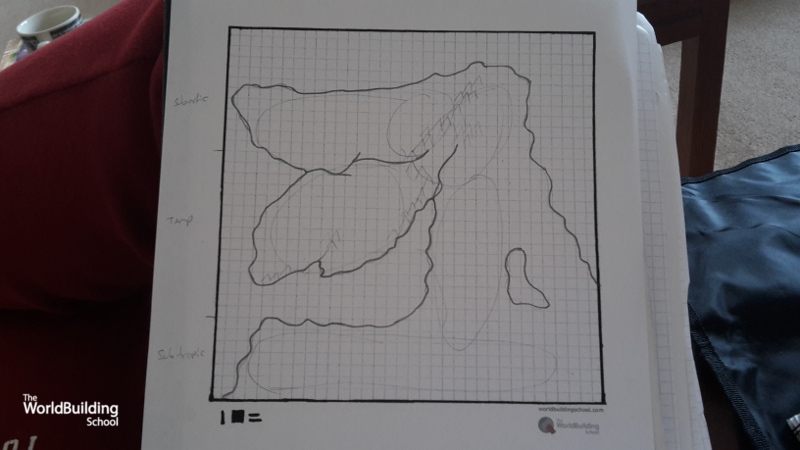
Also, on this map I haven’t included the tectonic plates or prevailing wind but I’ve determined 2 things (these are decisions you make as the creator):
- This is in the northern hemisphere so the wind currents work in an anti-clockwise direction. Which means warm air will be driven up on the right hand side of the map from the sub tropic land in the south.
- I imagine a tectonic plate will cut through the middle of the bay and up to the top right where the mountain range has appeared. However I’ll need to go over my notes on tectonic plates and geography to see if this bay/mountain formation would occur naturally.
If it’s not a natural mountain range then it leaves a great question for the world history to answer.
Moving onto the grid
By now I’m happy with the rough layout of the map.
It’s an interesting shape and has the civilisations positioned perfectly for conflict with the potential for a mix of different cultures.
For example:
The north is warmer than the south so that instantly creates differences in people as they adapt to different climates.
Also some civilisations run north-south and others run east-west. This is an important factor in food production and civilisation development/strength if you’re a follower of the ‘Guns, Germs and Steel’ philosophy.
Remind me to find my notes and write an article on that philosophy sometime. It’s a great answer to “why do some civilisations develop quicker than others?”.
But that’s another story – Onto the grid!
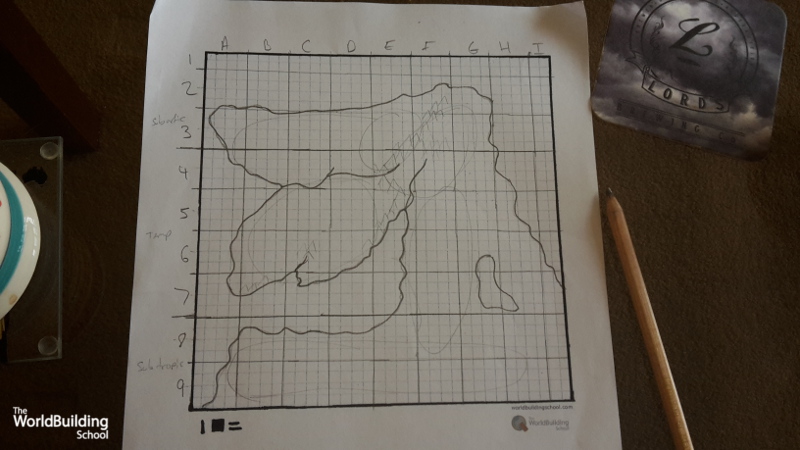
The goal now is to split your map up unto a grid. I’ve chosen 4×4 squares (though annoyingly I designed this paper with 34×34 squares not 32×32. So there is an overlap of 2 either side. ARGH!!).
Here is my grid. I’ve also labelled the X axis with letters and the Y axis with numbers. Perfect for creating an easy to read grid reference.
The Next Step
At this point we’ve achieved the first 2 goals in the Grid Worldbuilding Overview:
- Draw a world map
- Split it into a grid
Which means the next step is to:
- Assign a page for each grid
- Draw world details in the grid.
I might spend a little more time adding details, major cities and points of interest to the world map. Adding more details at this stage will make it easier when you come to draw the more detailed maps.
Which also brings me onto another thought.
Currently my grid is 9 sections by 9 sections. This makes a total of 64 sections.
That’s a lot of sections for what was supposed to be a quick experiment.
So I may increase each section to be 8×8 squares which would mean there would only be 16 sections in total. Not 64.
Big difference.
Until next time…